If you are anything like me, you love to buy new supplies.
If you are anything like me, you often fail to use these new supplies enough… oh dear!
Welcome to Use It! my new blog class.
Each day this week, I will offer a card featuring a different technique, but created with the same selection of supplies - some new and some not so new.
I will accompany each card with step-by-step instructions and photos to show you how I made it. I'm not offering anything new or innovative, but I always enjoy seeing others' processes and thought maybe someone somewhere may find it useful. :) I hope so anyway…
If this week is a success - if you enjoy it - I will try to do some more. And I will take requests too… techniques or products you would like to see me use.
Supplies
So first things first, here are my supplies for my first ever Use It! week.
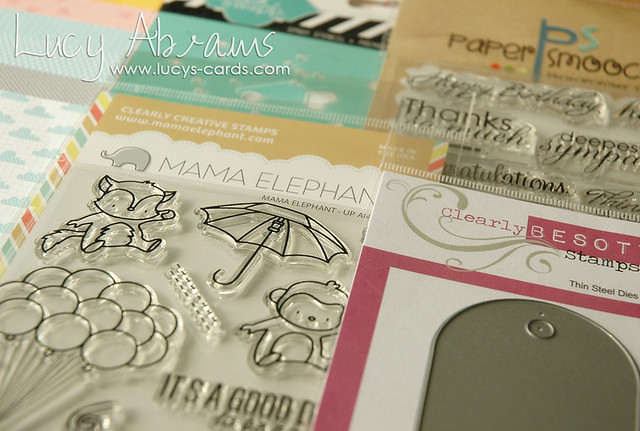
Firstly my stamps. I chose two sets that I thought coordinated well together - one new and one not so new. I wanted images and a good mix of sentiments so I could create a variety of different cards. My choices:
Next, I decided to add in Heidi Swapp's Confetti stencil. This stencil has three different designs on it and is therefore suitable for lots of different themes and designs.
I knew I needed a tag die as I use tags a LOT so I selected Clearly Besotted's Rounded Tag Die.
And finally, paper. I decided to work with two different 6x6 paper pads, both by Lawn Fawn: Hello Sunshine and Into the Woods.
Preparation
Once I had chosen my supplies, it was time to sketch.
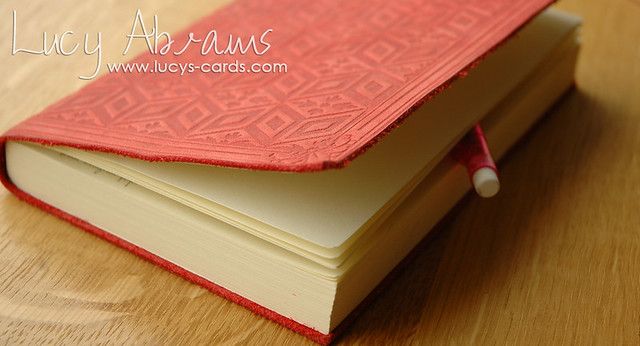
I always sketch out my ideas before making cards. This works best for me and ensures that the time I have to create is used well. Plus, I can sketch and plan whilst doing other things (such as feeding babies!!).
Having a super pretty sketch book also helps me a lot. For some reason, I have no desire to sketch in a boring old notepad.
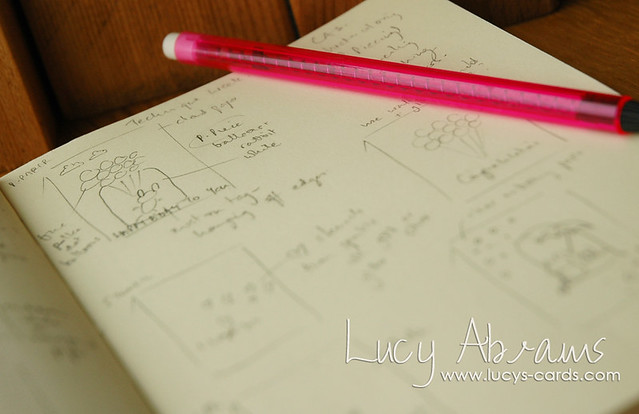
Here's a glimpse at the inside of my sketch book… you can see that I write a lot down too. Although my cards do not always turn out exactly as sketched, they are usually pretty close. Today's card is the one in the top left… you can see the changes I made as I worked on it. :)
So - on to today's lesson:
Lesson 1 - Paper Piecing with Patterned Paper
Creation
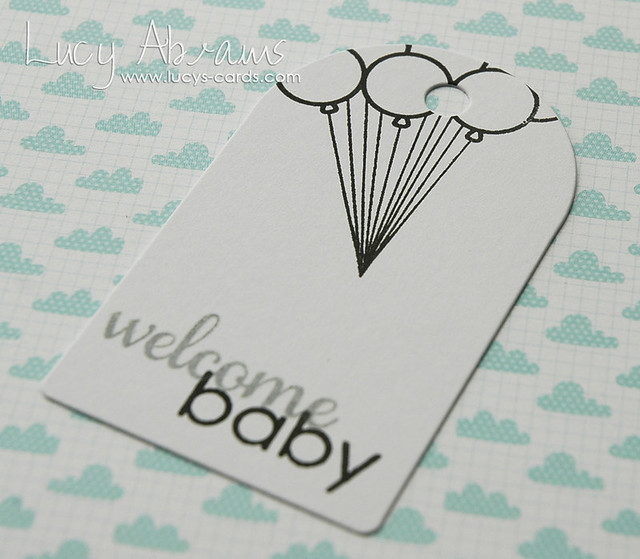
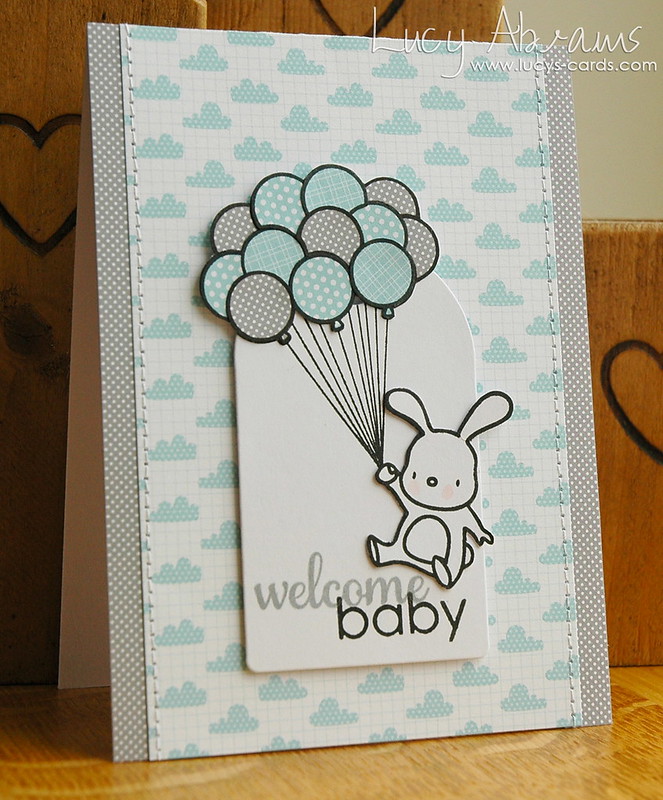
Die cut a tag from white card stock.
Stamp the bunch of balloons onto the tag.
Stamp the balloons again onto three different patterned papers.
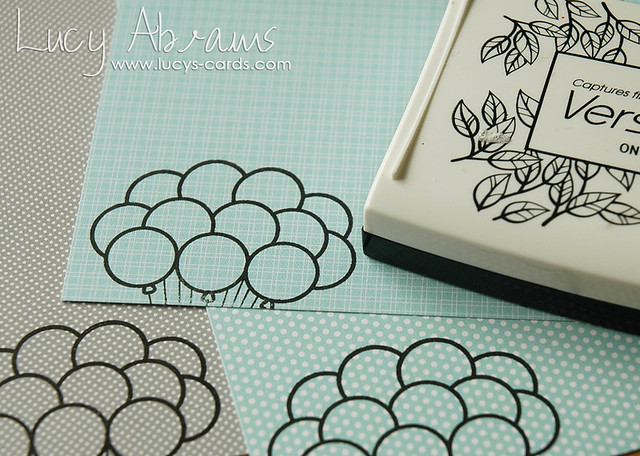
Trim the balloons, using one colour as a base piece to adhere all the balloons to (I used the grey paper).
Stamp the bunny onto white card stock and trim. Add a drop of pink watercolour to its cheeks and adhere to the tag.
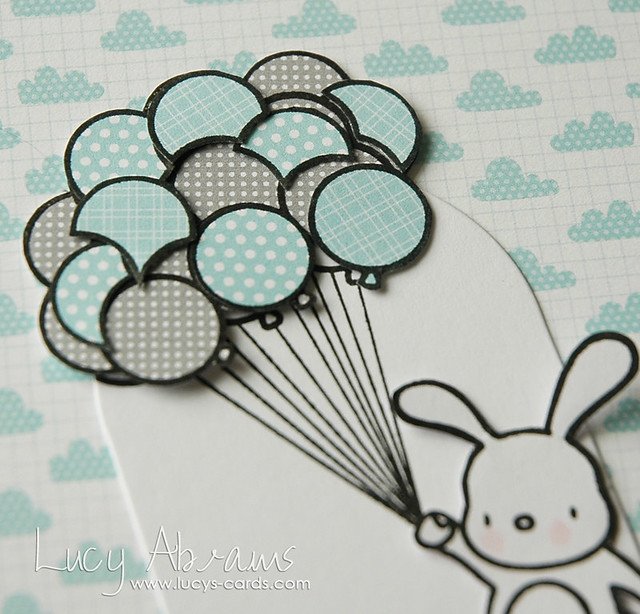
Stamp the bunny onto white card stock and trim. Add a drop of pink watercolour to its cheeks and adhere to the tag.

Adhere the balloons together and add to the tag.
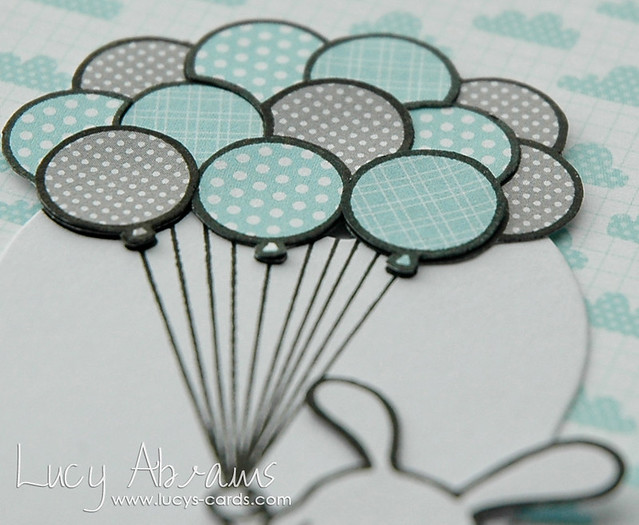
Create the background by trimming cloud paper to 3 1/2" x 5 1/2".
TIP: To avoid wasting precious patterned paper, trim two strips of grey polka dot paper and adhere to the reverse of the cloud paper. I always use washi tape for this… I have a LOT and do not use it very often. :)
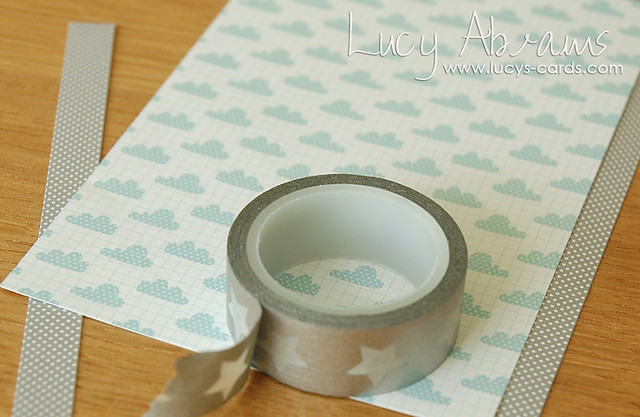
Add some stitching to the cloud paper panel. TIP: Do this before adhering the background to your card so your stitching is not visible on the inside of the card.
Adhere the background to a 5 1/2 x 4" folded card.
Adhere the tag to the card with foam adhesive.
And voila. :)
Variations
This card would be super cute in baby girl pinks too, or simply change the sentiment for a birthday or congratulations card. Adding glitter or glossy accents to the balloons would add sparkle or shine.
I'll be back tomorrow with Lesson 2: Stencils. Hope to see you then.
P.S. Please leave me a comment if there's anything you might be interested in seeing in future classes.
Supplies


Really cute card. Love your idea to use what you have. Thanks for sharing. Looking forward to more.
ReplyDeleteThis is a fabulous card. Thanks for starting this series.
ReplyDeletethanks for an interesting class in your creation of a card - and one that turned so darling!
ReplyDeleteSweet card! Looking forward to this week's posts. ;-)
ReplyDeleteThis class theme is a great idea, Lucy. I can't wait to see what else you create. :-)
ReplyDeleteI love seeing the process, too! :) Great idea!
ReplyDeleteSweet card! Thanks for starting this class.
ReplyDeleteThank you, Lucy, for this class - what a great idea! I do appreciate seeing how others create their cards. Using a tag on a card is something I almost never do; you have inspired me to try it!
ReplyDeleteGot to say that I have bought those beautiful tapes on impulse just because they are so cool-now they sit there. Some really don't glue down when applied to things so I won't use them. Oh and how about those brads-what was I thinking....Love your site!
ReplyDeleteThank you for the class. I am looking forward for tomorrows class :-)
ReplyDeleteGreat, great idea!!! Even to those of us that are experienced it's wonderful to see the process rather than fumble through it ourselves! Thank you, keep it up! Ideas- watercoloring, embossing, double stamping, how to come up with a good sketch...
ReplyDeleteWhat a great idea! Love the card you made.Looking forward to the rest of the week.
ReplyDeletehi Lucy, thanks for sharing this with us all, beautiful card!!!
ReplyDeleteI myself am trying to be "very disciplined" in using all the gorgeous stamps and dies, papers etc .... before buying anymore stuff ... LOL .. love your designs, keep up the fab work ♥
ps.. just "liked" your facebook page :)
Fantaztic card thanks for the tutorial very inspiring.
ReplyDeleteLove seeing you doing a lesson every day! What a TREAT this is going to be! Thank you for sharing, Lucy! Today's card is so sweet with the Lucy touches--paper-piecing, stitching and soft colors! LOVE!
ReplyDeleteSuper cute!
ReplyDeleteGreat idea and great cards!
ReplyDeleteGreat idea for a series - thanks so much for sharing with us! LOVE this card - so adorable!!
ReplyDeleteLove your new series! Beautiful card!
ReplyDeleteI love seeing how others make cards....I can't wait for the rest of your series! Cute, cute card!
ReplyDeleteGreat idea! Love your card (actually I love all your cards!)
ReplyDeleteThank you:)
So lovely! Jo x
ReplyDeleteSweet card Lucy. It would be fun to see a new lesson by you everyday! Looking forward to tomorrow :)
ReplyDeleteoh Lucy, how lovely to see this pop up in my blog reader. A super super card for lesson 1. I'll be pinning these so I can come back time and time again x x great idea x
ReplyDeleteOh what a super cute card and class idea! Love it and will be tuning in to see what is next. Thanks.
ReplyDeleteWhat a great idea, Lucy - love the card you made too! I am definitely going to get that Mama Elephant set as I love the images. Thanks for sharing your process - I have started to sketch card designs recently so that I can make the most of the time that I actually have to make them :)
ReplyDeleteLucky us :)
ReplyDeleteFabulous idea, Lucy - thank you. Super sweet and adorable card today!
this card is adorable!
ReplyDeleteLovely card.
ReplyDeleteThank you for sharing your tips - look forward to more.
Hi Lucy, thanks for sharing your idea in this detailed picture-series with us!
ReplyDeleteSuch a cute card - I'm looking forward what you will create the next days!
Adorable. Thanks for doing these...makes me want to relook at some of my stamps and see how else to use them!
ReplyDeleteGreat idea. Love to see the process and your card turned out great!
ReplyDeleteReally cute card Lucy . I am looking forward to the next " class" . I too have a lot of things I need to get out of my stash and into production . Thank you for the idea.
ReplyDeleteThis card is absolutely ADORABLE, Lucy! Loved seeing your sketch book and your thought process! Excellent first class---looking forward to the second one!
ReplyDeleteSuch a great idea Lucy and your card is lovely I have just purchased that mama elephant set so I might give it a try. Love to see how your projects evolve from that sketchbook. Thanks for sharing.
ReplyDeleteYou are so talented!! How nice to share it with us. I really enjoy. Thanks!
ReplyDeleteO and i like your sketch book. Great!!
ReplyDeleteAdorable baby card dear Lucy..Love love love this soo cuuuteee..love the idea bunny with baloons for baby card..LUV THIS dear Lucy..hugs
ReplyDeleteA gorgeous card and the depth you have achieved by using three colours is astonishing. Trying to catch up with the days I have missed. TFS Kareb x
ReplyDeleteThis is wonderfully fun, Lucy. i'm looking forward to this whole week now.
ReplyDeleteTROP TROP BEAU!!! Thank… hugs!
ReplyDeleteLove the simple elegance of the card. And your tutorial was perfect. Thank you. I will definately have to copy your design, you don't mind do you.
ReplyDelete