It's time for Day 3 of my Use It! class. I hope you have enjoyed seeing how my card-making brain works. :)
A recap on my supplies for this class:
Lesson 3: Clean and Simple
Clean and simple is how I work.
I love it.
And there are some AMAZING CAS gurus out there, my favourite being Laura Bassen. She really is incredible, right?
People often comment on how simple my cards are, and I like that. However, simple does not necessarily mean easy. It's HARD to stop adding more and more pretty things… you have to know when to stop. :)
So on to today's card… not many steps, not many photos… it's CAS after all. ;)
Creation
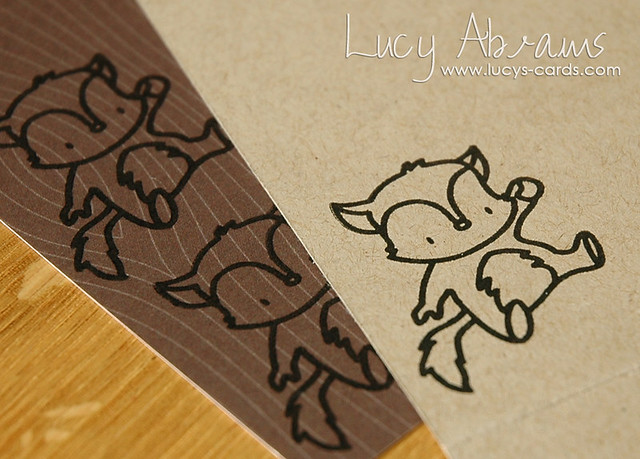
Stamp the cute critter onto woodgrain paper and again onto kraft cardstock. (See I stamped him twice… that's because I messed up the first one just a teensy tiny bit. And with a CAS card, teensy tiny mistakes show up!)

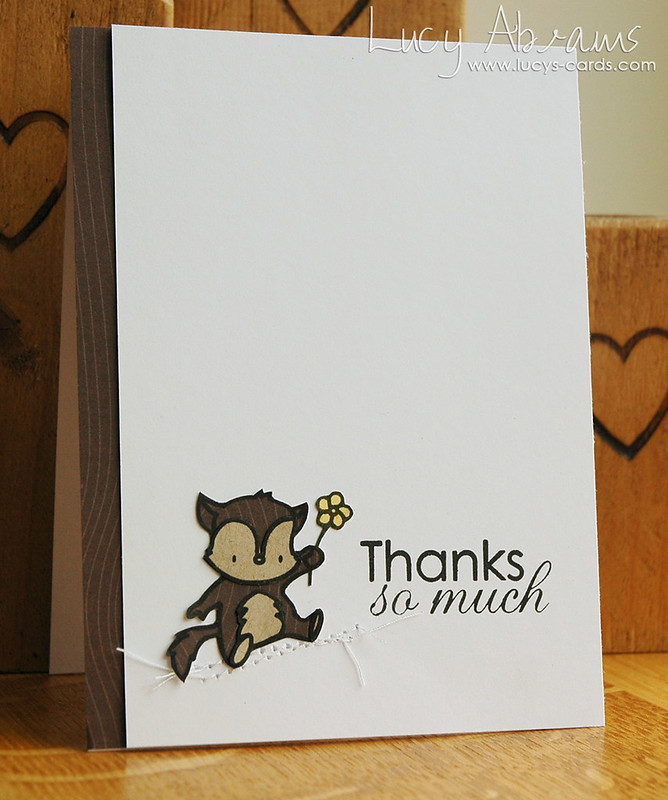
Trim the face, tummy and feet from the kraft critter and adhere to the woodgrain one.
Trim a piece of white card stock to 3 3/4 x 5 1/2".
Play around with where you want your critter to go, then stamp the sentiment.
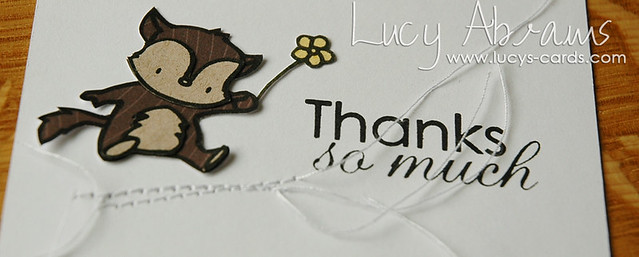
Add some stitched lines beneath where you plan to place your critter. I adhered him temporarily with some washi tape while I did this so I could see where to add my stitching.
Stamp a flower on yellow paper and trim.
Add some stitched lines beneath where you plan to place your critter. I adhered him temporarily with some washi tape while I did this so I could see where to add my stitching.
Stamp a flower on yellow paper and trim.

Cut off the threads, making each a slightly different length. Adhere the loose threads on the reverse of the card.
Trim a strip of woodgrain paper and adhere behind the white panel.
Adhere to a notecard.
Step away. :)

TIP: Clean and simple cards rely on white space. So make sure your cardstock is good quality and pristine before you start. There's nothing more annoying than finding a speck of dirt on your card just after you've finished… believe me, this has happened to me MANY times. :)
OK - so that's it for today.
Lesson 4: Watercolours follows tomorrow.
Bye for now.
P.S.
Just to say - this is my 1000th blog post!!!
Wow! How time flies!
P.S.
Just to say - this is my 1000th blog post!!!
Wow! How time flies!
Supplies


This is adorable. However, I am allergic to white space. I'm working on it, though. :)
ReplyDeleteUn grand merci pour ces leçons formidables que je suis avec beaucoup d'intérêt.
ReplyDeleteJ'ai hâte de voir la suite !
I love your CAS card, Lucy! And congrats on you 1000th post! :)
ReplyDeleteI love the card .. I do not often do paper piecing and seeing this card I really should do more .
ReplyDeleteCongrats on reaching the 100 post ..
I have always enjoy your CAS style Lucy! For myself though I am still looking for the cut off between CAS and "not quite done"! LOL Big congrats on reaching such a special milestone, 1000th post!!!!!!
ReplyDeleteYou do CAS so well and this is a fine example! Congrats on your 1000th post!!
ReplyDeleteHuge congrats on your 1000th blog post - this is really amazing and impressing!
ReplyDeleteI'm a big fan of your gorgeous cards and I absolutely enjoy your lessons so far :o)
Thank you so much for sharing, Lucy.
Hugs, Anja
Love this C&S card! I love white space, so this appeals to me... And, congratulations on your 1000th blog post! Quite an accomplishment!
ReplyDeleteI am sooooo loving your classes!!!! Thank you for spending the time to show us these :))))
ReplyDeletePERFECTION, Lucy - and love your use of stitched lines :o)
ReplyDeleteWow!! 1000 posts!! That's incredible! Congratulations!!! And great CAS lesson today! Your card is so super duper cute!
ReplyDeletecongrats on 1000 posts!! This is such a super cute card - love the stitched lines under the sweet paper pieced image!
ReplyDelete1000 posts - congrats! I love the paper piecing you have done here and I always love the stitching on your cards!
ReplyDeletecongrats on your 1000th post!
ReplyDeleteWiw congrats on your post 1000!!! Hopefully there will be another 1000 on it's way. Great card today.
ReplyDelete