Hello, and welcome to the final day of my 2nd Use It! class.
My supplies for this week are:
Lots of Dots Stamp Set by Simon Says Stamp
Head Over Heels 6 x 6 Pad by Echo Park
Transportation Wood Veneer Shapes by Studio Calico
Head Over Heels 6 x 6 Pad by Echo Park
Transportation Wood Veneer Shapes by Studio Calico
Lesson 5 - Alphabet Stickers
I confess - I have about a gazillion sets of alphas. I love them… but do not use them enough.
Today I am sharing an idea of how to get more from your alphas by customising them with ink.
Creation
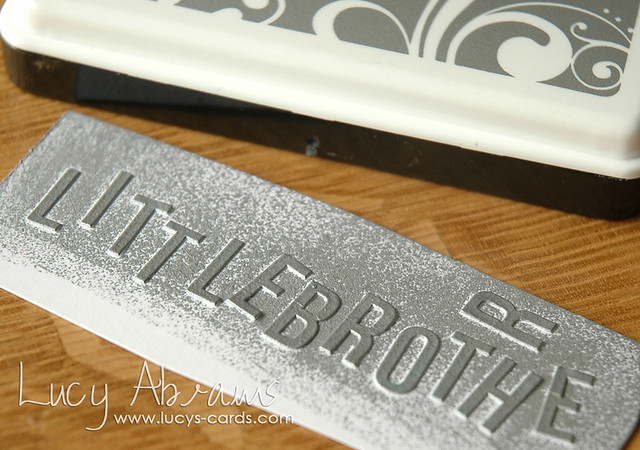
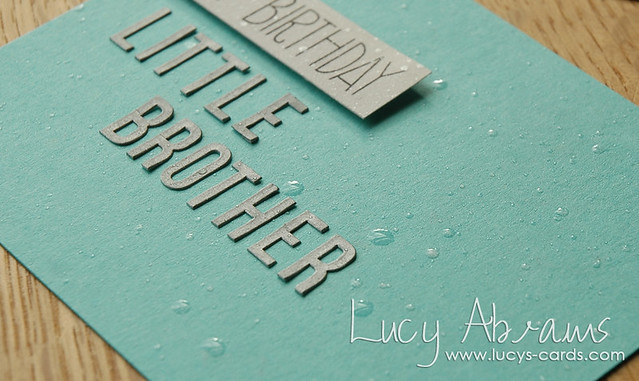
Adhere alphabet stickers to some scrap paper, spelling out 'Little Brother'.
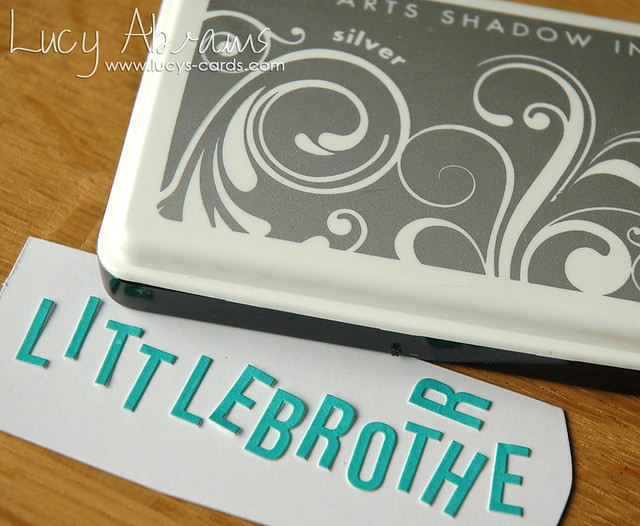
Press Silver Shadow Ink directly onto the alphabet stickers and allow to dry.
I confess - I have about a gazillion sets of alphas. I love them… but do not use them enough.
Today I am sharing an idea of how to get more from your alphas by customising them with ink.
Creation
Adhere alphabet stickers to some scrap paper, spelling out 'Little Brother'.

Press Silver Shadow Ink directly onto the alphabet stickers and allow to dry.
Trim patterned papers.
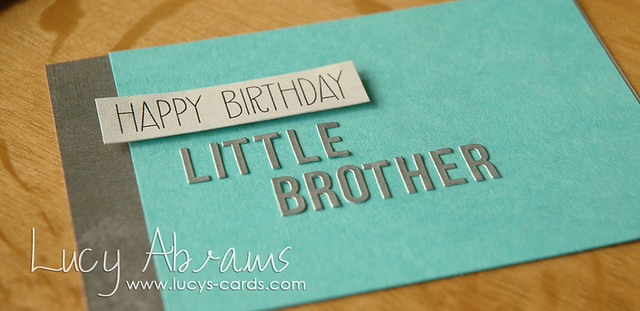
Stamp 'Happy Birthday' onto patterned paper and trim into a banner shape.
Adhere the banner to the blue paper with foam adhesive.
Adhere the stickers beneath the banner.
Mist the blue panel with Calico Shine Mister Huey's and leave to dry.
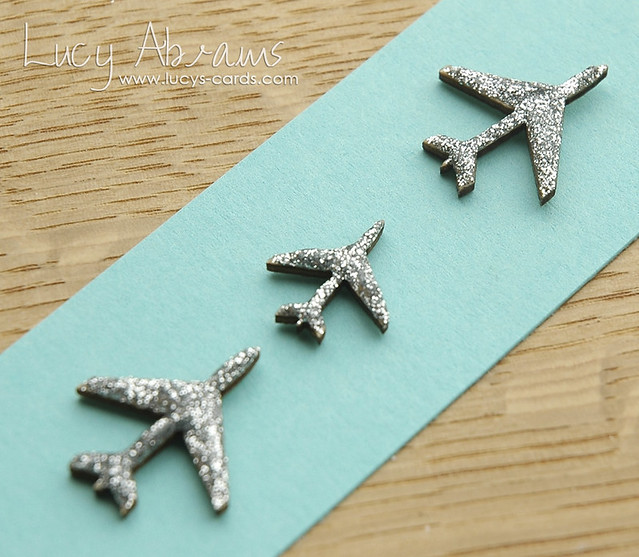
Temporarily adhere wood veneer aeroplanes to some scrap paper and cover with Silver Stickles.
Allow to dry thoroughly. (I put mine on a radiator!)

When completely dry, apply another layer of Stickles. It looks really gloopy and thick but will dry flat.
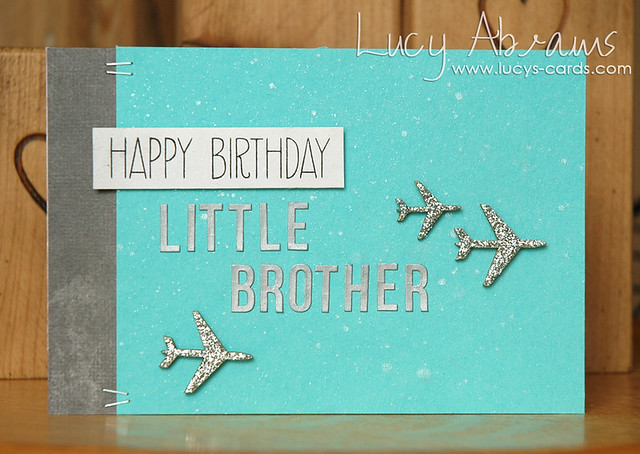
Adhere grey paper to a card base. Adhere the blue panel top the card and staple the panels together with a Tiny Attacher.
Adhere the aeroplanes to the card with Glue Dots and you're done. Yay!
I tend to use alphabet stickers more when I am making a card for a specific recipient. Kids seem to LOVE cards with their names on and Thickers work great for this - they are nice and large and textured too. :)
Here are a few more of my cards created with alphas:
Here are a few more of my cards created with alphas:
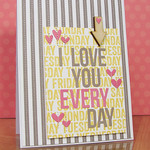
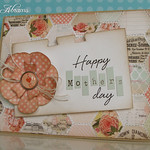
That's all for this class.
I hope you enjoyed it.
I have another class all prepared and ready to go soon… but please let me know if you have any requests. :)
Bye for now - have a wonderful weekend.
x
Supplies


7 comments:
Great ideas! I'll have to give it a try. :)
Great tip, love this masculine card. Thanks for sharing!
Great idea! Any tips for adhering alphas in straight line?? Appreciate your talent!!
Ah Lucy, so that's the reason why I've been following your blog for so long - the fact that you are a FABULOUS cardmaker. This is terrific, I have never quite worked out what to do with veneers so thanks for the tutorial and brilliant inspiration, Jo x
Great card. Never thought about ink on the alphas before. Love the color combination too. TFS
Such a cute card!
Another great card - I have really enjoyed your class this week! The ideas for jazzing up veneers and alphas are fab :)
Post a Comment