Welcome to the final day of my 4th Use It! class.
My supplies for this week are:
and Simple Stories Sn@p Typeset and Letters
Lesson 5: Simple Stitching
As you may have noticed, I am a bit of a sewing addict. I have hundreds of sewing projects in my mind, and if I only had the time, I would be sewing all day long. So it is no surprise that I add a lot of sewing to my cards. Seriously, I adore my sewing machine. :)
Creation
For this card, I used the die cut butterflies left over from my Lesson 1 card. I just couldn't throw them away!!!
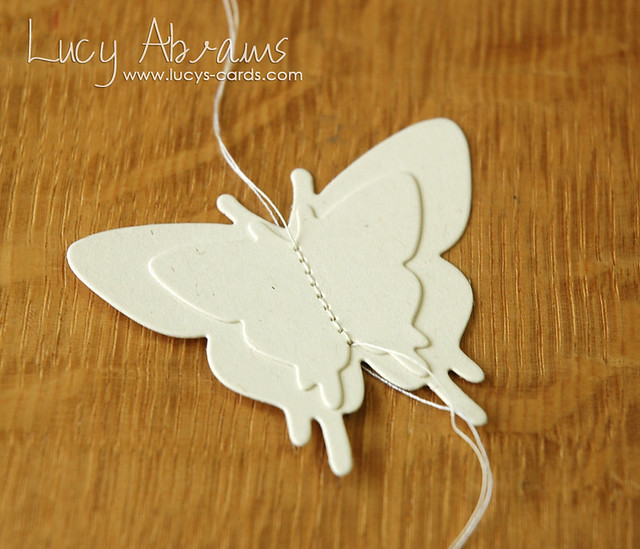
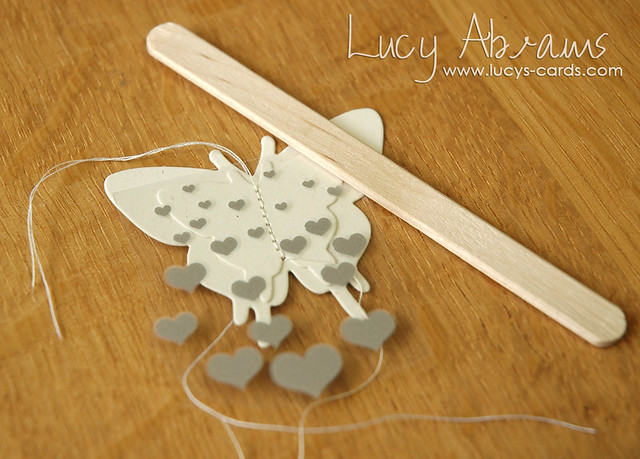
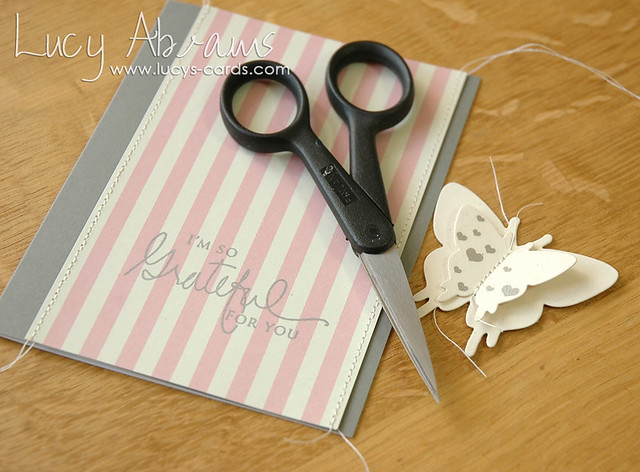
Stitch the butterflies together with a simple straight stitch. Trim the ends but leave them hanging.
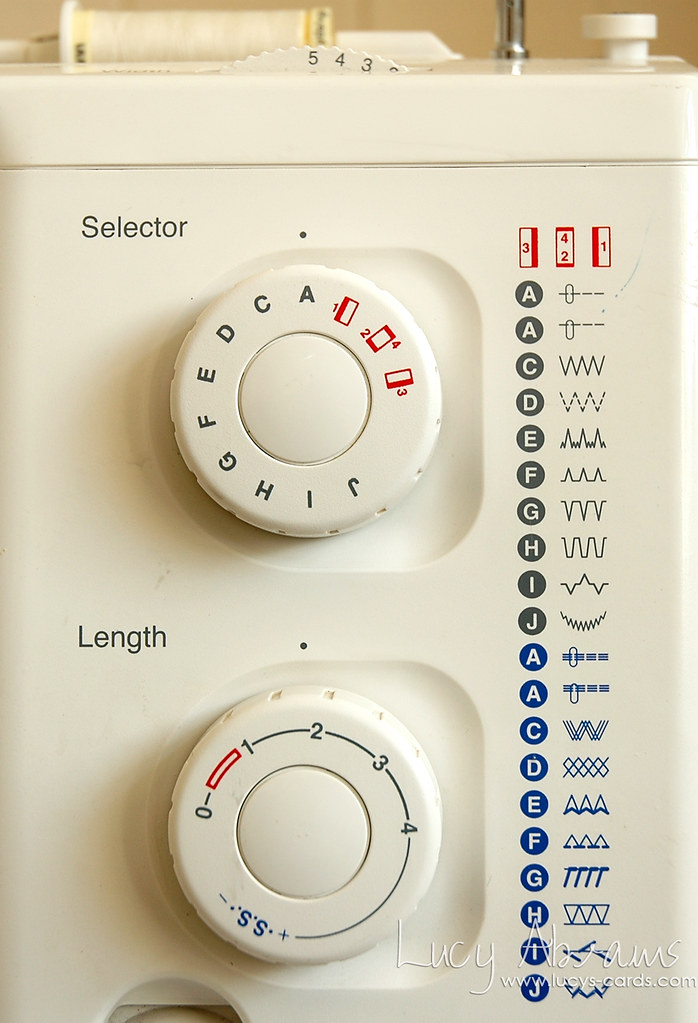
Here's a peek at my sewing machine so you can see my settings… just in case you are interested. :)
Select your rub ons and trim from the pack.
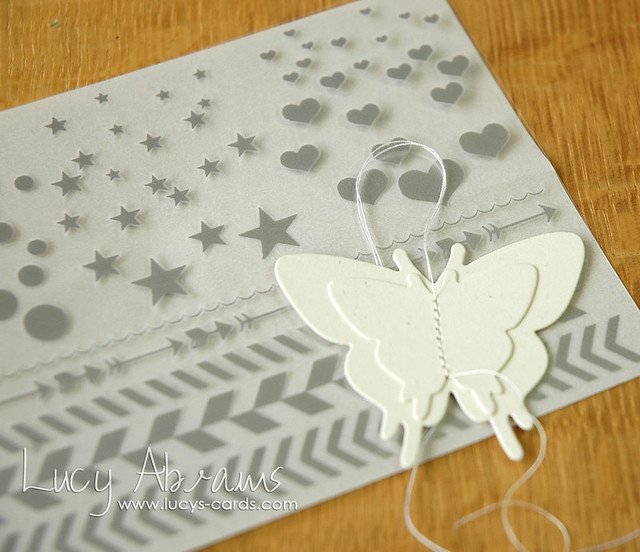
Apply the rub ons to the butterfly.
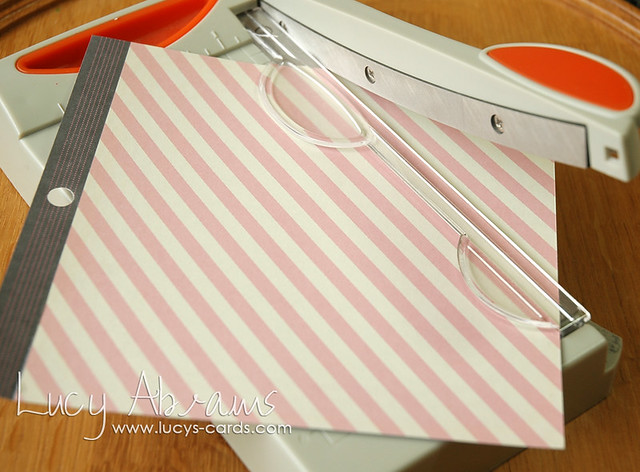
The Mayberry paper pad has this pretty diagonal stripe paper. However, for this card I wanted vertical stripes. So I trimmed the paper down the stripes and made it vertical. :)
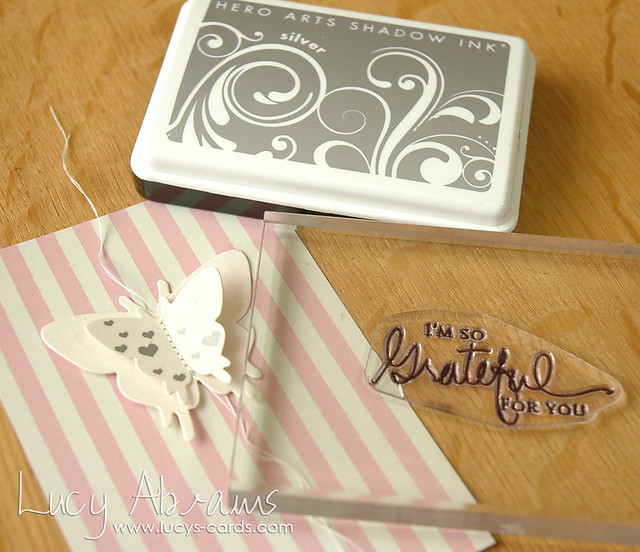
Stamp the sentiment in Silver Shadow Ink.
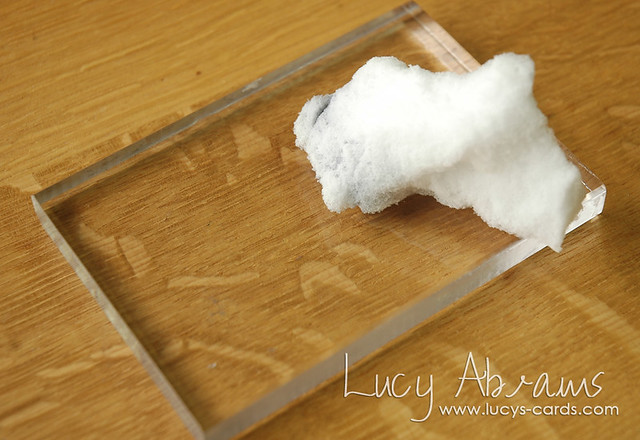
TIP: when I was about to take the previous photo, I noticed that my acrylic block was pretty filthy. So I thought I'd share my method of cleaning my acrylic blocks. I found this on Pinterest (follow me HERE - I am a regular pinner!) and it works a treat.
Use Magic Eraser household cleaning pads. I love these things… and I never even considered using them for cleaning my craft supplies. Genius!
Before:
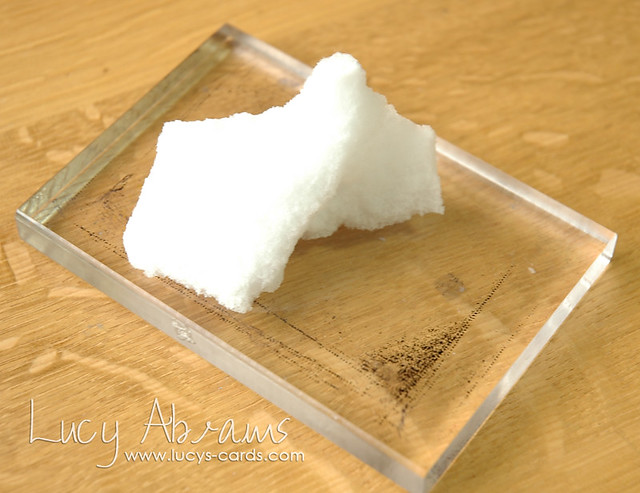
After:
Stitch the edges of the stripy paper and trim the ends. For this card I have left the ends loose on the butterfly and the paper panel. I am loving this look at the moment. If you like a cleaner finish, adhere them to the reverse with some sticky tape.
Adhere the butterfly to the stripy panel and then adhere the panel to a folded card.
And that it it. Finis.
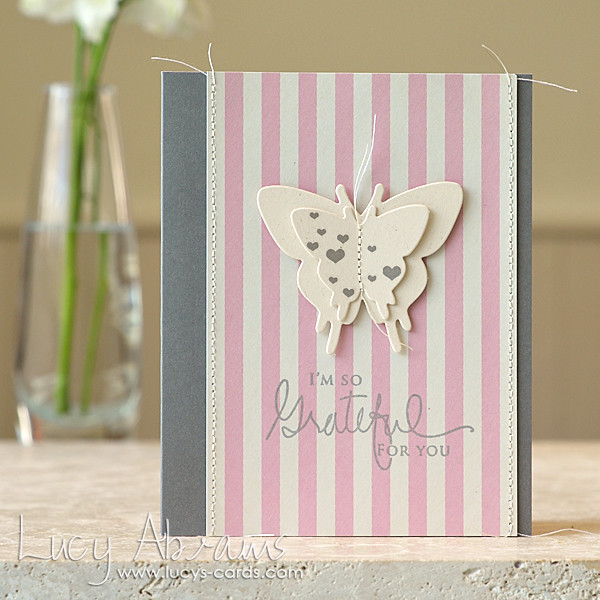
It always feels to good to use up scraps. Right. :)
I hope you have enjoyed this week.
Please let me know - anything you want / don't want… I'd love to hear your feedback as I will be starting preparations for the next class tomorrow!!
Have a happy weekend.
x
Supplies




Hi Lucy. I don't have any suggestions or ideas except to say, "keep 'em coming"! I have really enjoyed your classes, and have come to realize that your cards are really very simple to make! They don't appear that way on my first look at them, but after your instructions, I realize that even I can make this, haha! :) Thanks, again, I really enjoy your blog. -Lisa Beeman
ReplyDeleteYep..I love using up my scraps. A beautiful card and thanks for the cleaning tip..mine need doing x x
ReplyDeleteLove the cleaning tip almost as much as I love this card. This has truly been a FUN week with you. Very glad I found you.
ReplyDeleteI have no class ideas. I have been enjoying them. Thank you for all the tips and tricks.
ReplyDeleteAnother beautiful card.
Love using my scraps too and I'm always happy to get new ideas for putting them to work. I'd love to see some ideas for using ribbon and/or buttons on cards if you have any tips to share. Speaking of tips, thanks so much for the block cleaning tip.
ReplyDeleteSimple yet so very sophisticated!! LOVE it, Lucy!
ReplyDeleteLucy, do you have to change your needle often? Or do you switch from a "paper sewing" needle to a "fabric sewing" one? I thought sewing through paper dulls the tip of the needle, but if you're sewing through paper, it really doesn't matter. xx
ReplyDelete