OK - so I got back from vacation to find that someone (Hi Hannah!) had left a comment on one of my recent posts asking about some glitter cardstock. So, I thought it made sense (and would be fun) to do a quick review.
First, let me state here that I love glitter. I don't care if I get glitter all over the house… I regularly find it in my girls' hair, in the bath, in the car… and that's how I roll. :)
However, I know that lots of fellow cardmakers do not like it. So for all of you - I hope this helps.
First up, the
Doodlebug card. I love this card - it's super heavyweight, comes in lots of yummy colours that coordinate with all the Doodlebug embellies, and it works brilliantly in the Silhouette and Cuttlebug. But it does shed. Quite a bit.
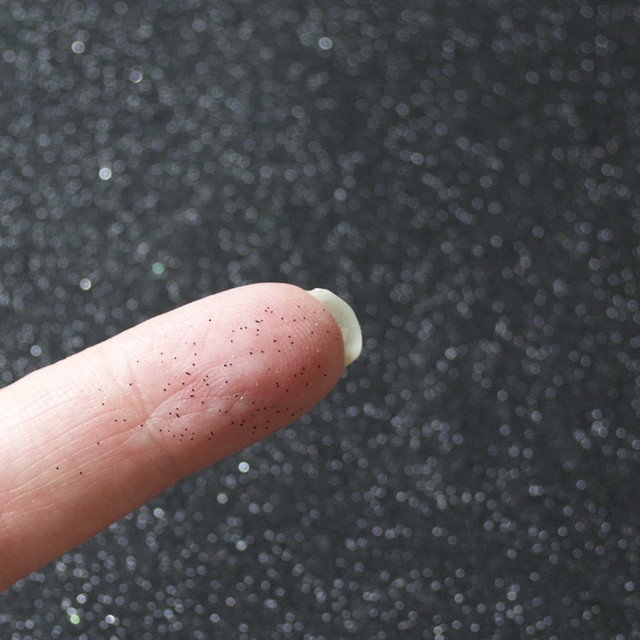
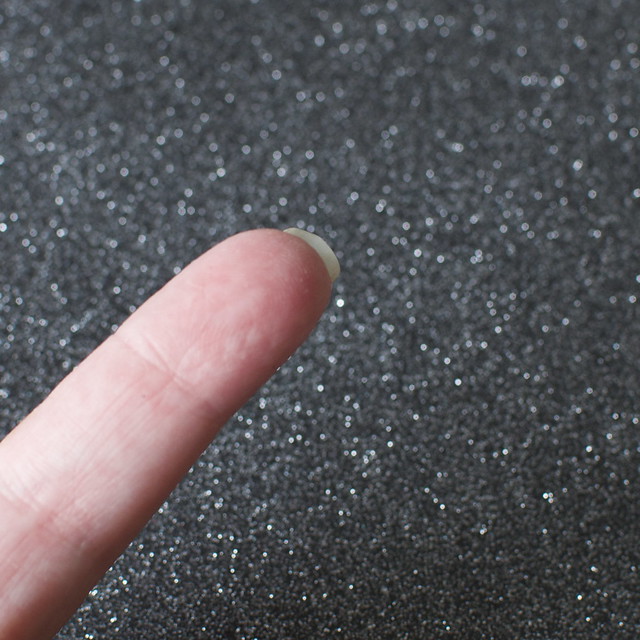
I did a little test for you - I ran my finger quite firmly over the card and this was the result:
(Please ignore my wonky cut fingernail!!!!! I am no Kristina Werner when it comes to nail care...)
Not much - but definitely enough if you don't love glitter...
When I use this card I do find that there are bits of glitter everywhere… and there's lots of residue in the box in which I store it. For me, this is not a problem. But if you don't like glitter so much then this is not the product for you.
My next experiment was with
the own brand card. I got mine from a British craft store called Hobbycraft. It's the biggest craft store chain in the UK. I bought their own brand metallic coloured glitter card. And I'm sad to say that it's not very good… the plus side - it was very inexpensive, but there is a reason for this. It is SUPER flaky. Glitter everywhere… and it is not very smooth either. The online description does warn that some glitter may be loose (nice to see an honest product description!) - and my finger test proves it:
I am sad to say I will not be buying this one again, and certainly not using it in my machinery…
Finally,
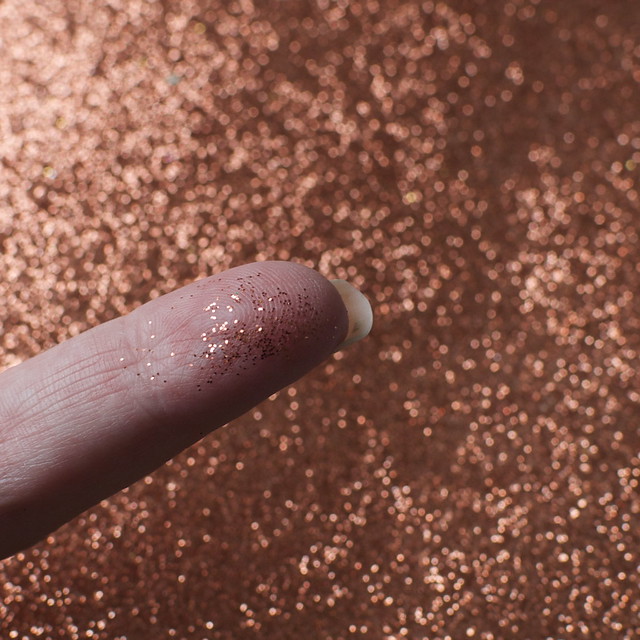
DCWV. Now in my opinion this is the bees knees of glitter cardstock. Just look:
Literally no flakes. And I tried the test three times.
The DCWV card comes in lots of different shades - I have the
gorgeous neutrals (the silver in this is simply delicious), the
beautiful Jewels, and the
fun Brights.
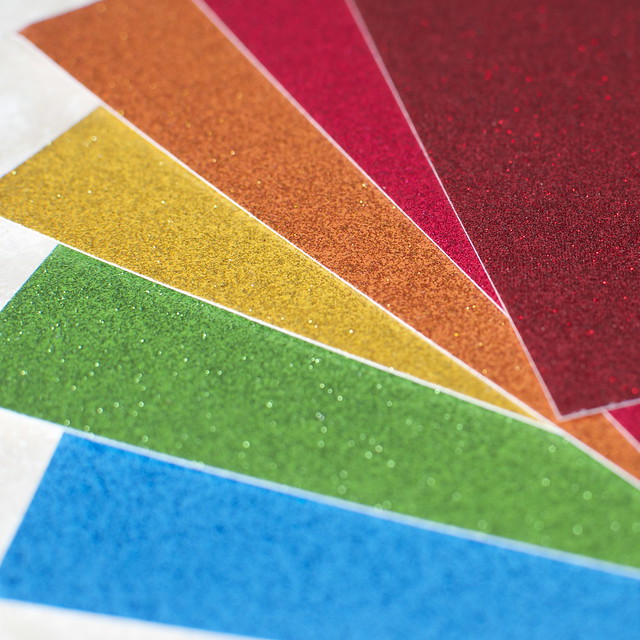
The Brights collection is currently my favourite so I thought I'd share a closer peek…
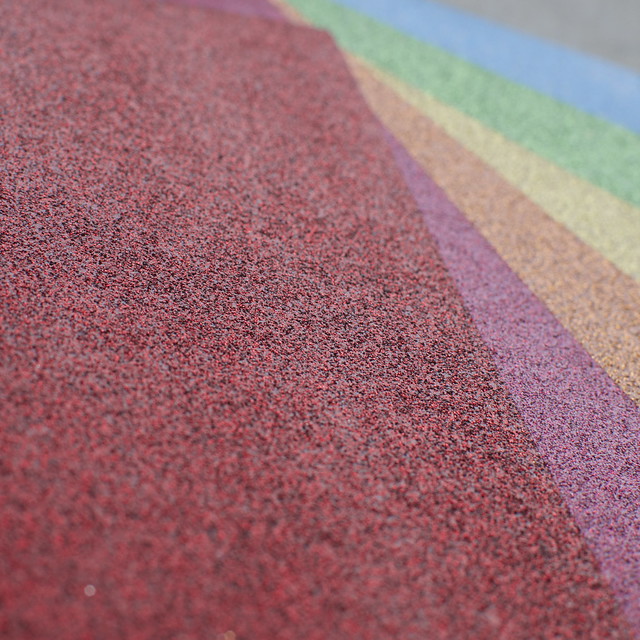
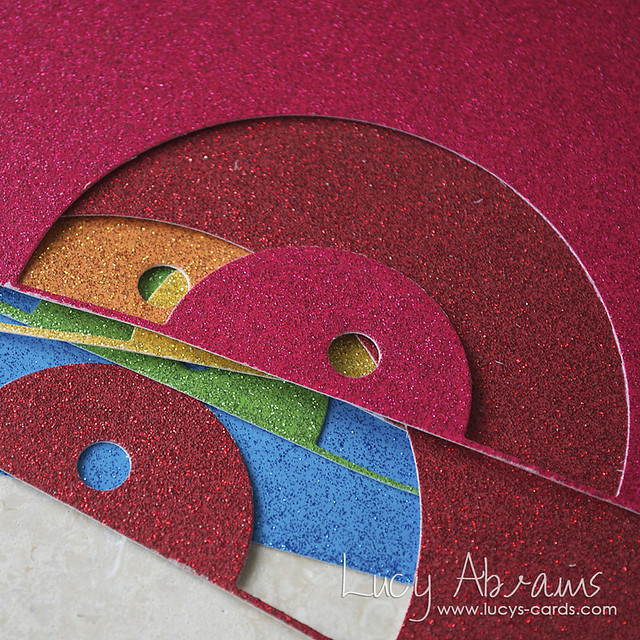
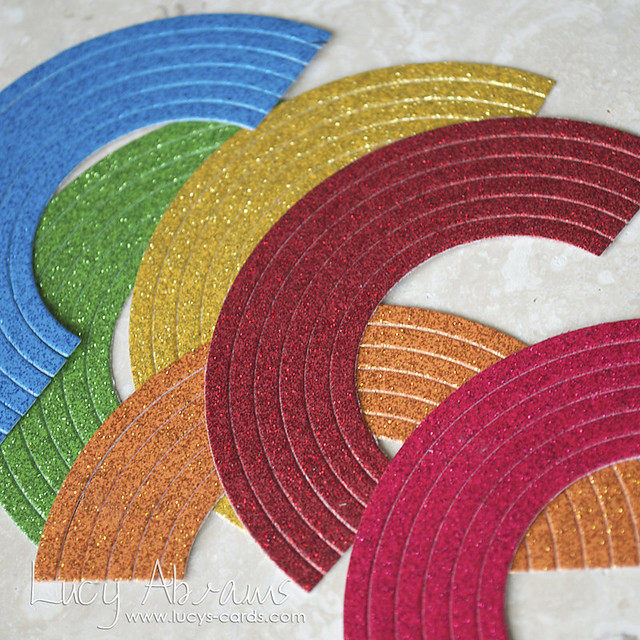
You get 6 colours of card in the pad, and 3 pieces of each colour. Here they are in a bit more detail from different angles:
Really, truly delicious. Without the mess. :)
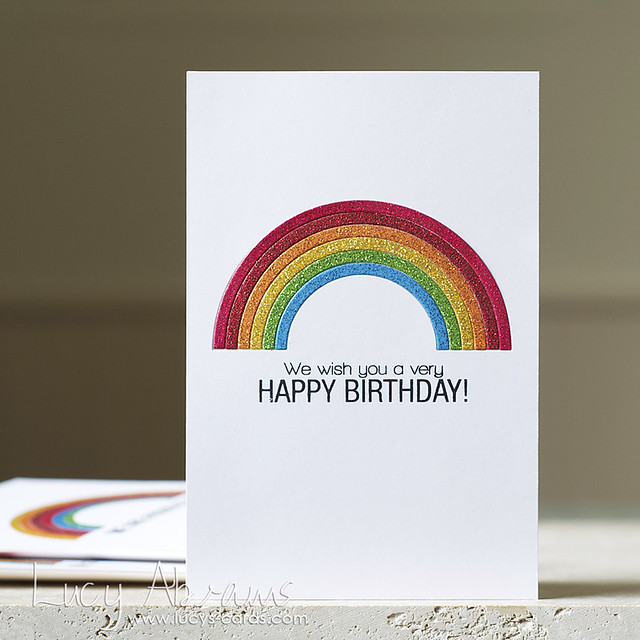
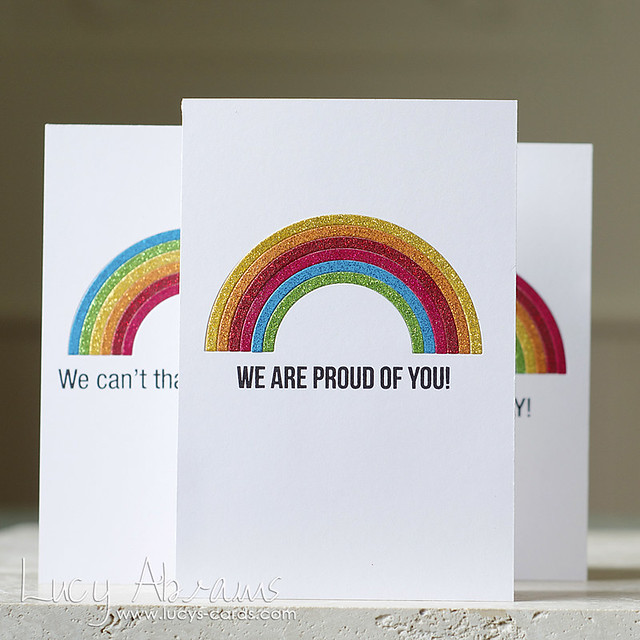
So, I got busy and made a little card set to show you how gorgeous the
Brights pad really is.
Here are some instructions:
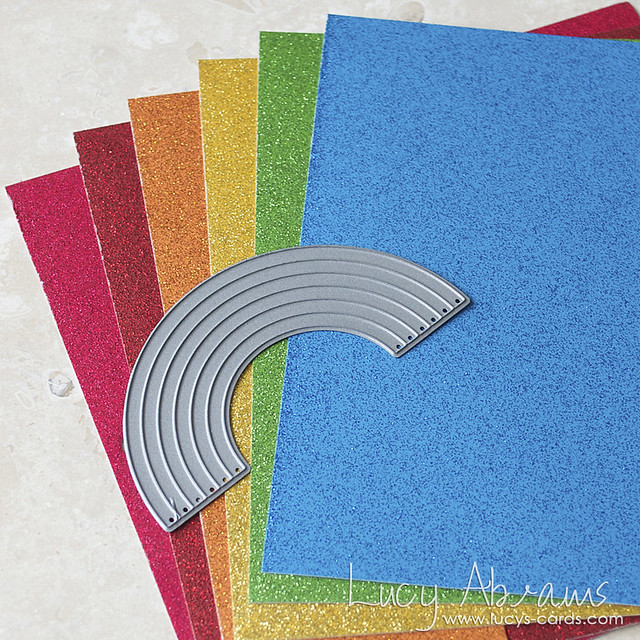
First, die cut the rainbow from all 6 colours of glitter card in the pad.
Tip: die cut the rainbows from the top part of the card where the hole is. This will save your precious card from getting used up too quickly. :)
Separate out the rainbows into their pieces.
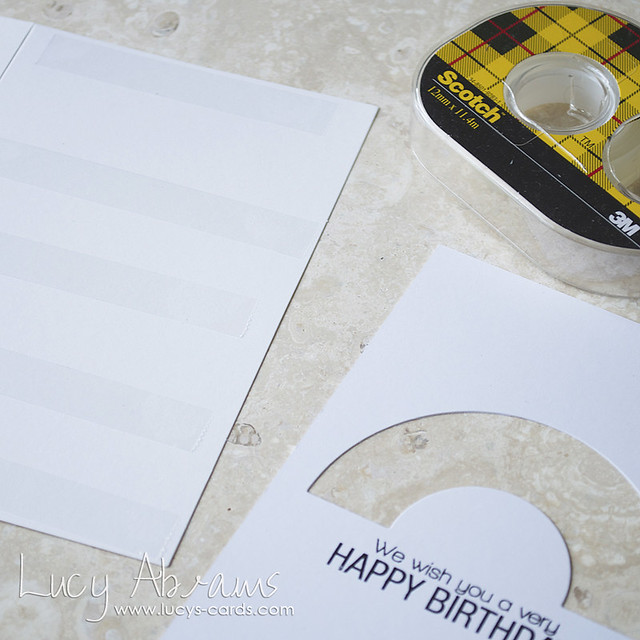
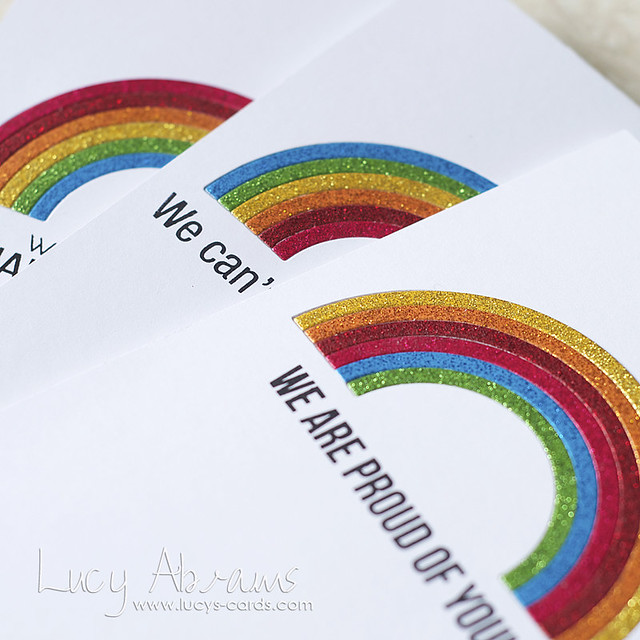
Die cut the rainbow again from three pieces of white card and discard the white rainbow shapes. Stamp the sentiments. TIP: I found it useful to draw faint pencil lines under my rainbows to help stamp my sentiments straight.
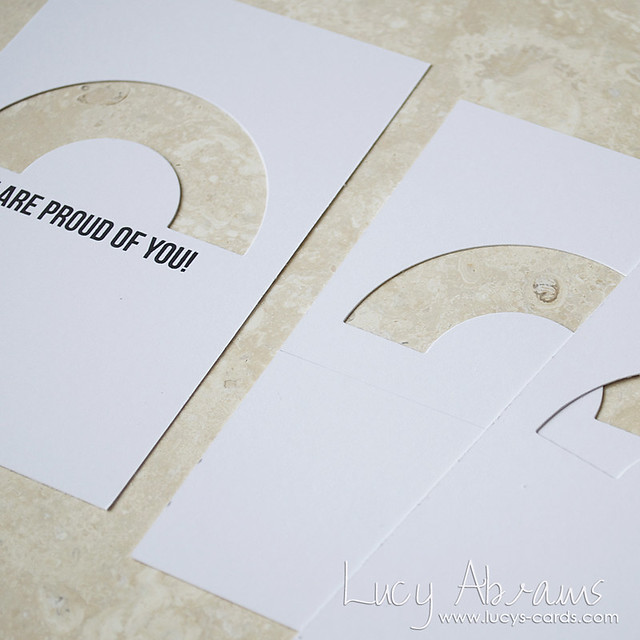
Adhere the die cut white card to a notecard.
Make sure there is plenty of adhesive behind the die cut rainbow.
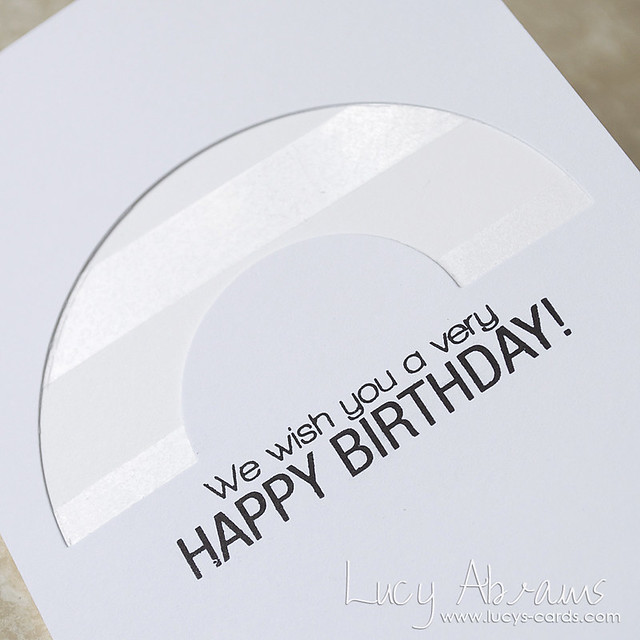
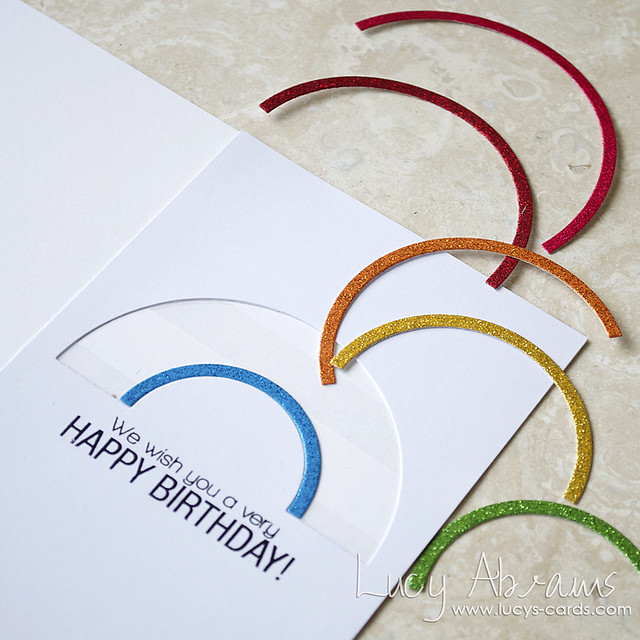
Finally, slot the rainbow pieces into place.
And voila - 3 cards for the price of 1. And you could actually make 6 and avoid any waste!
OK - so there you have it. Some reviews and recommendations for you, AND a card set!
Phew. That's a lot for a very hot Saturday. We're melting in England at the moment! (This country is not built for heatwaves…) :)
OK - have a fab weekend!
Bye for now.
Supplies

